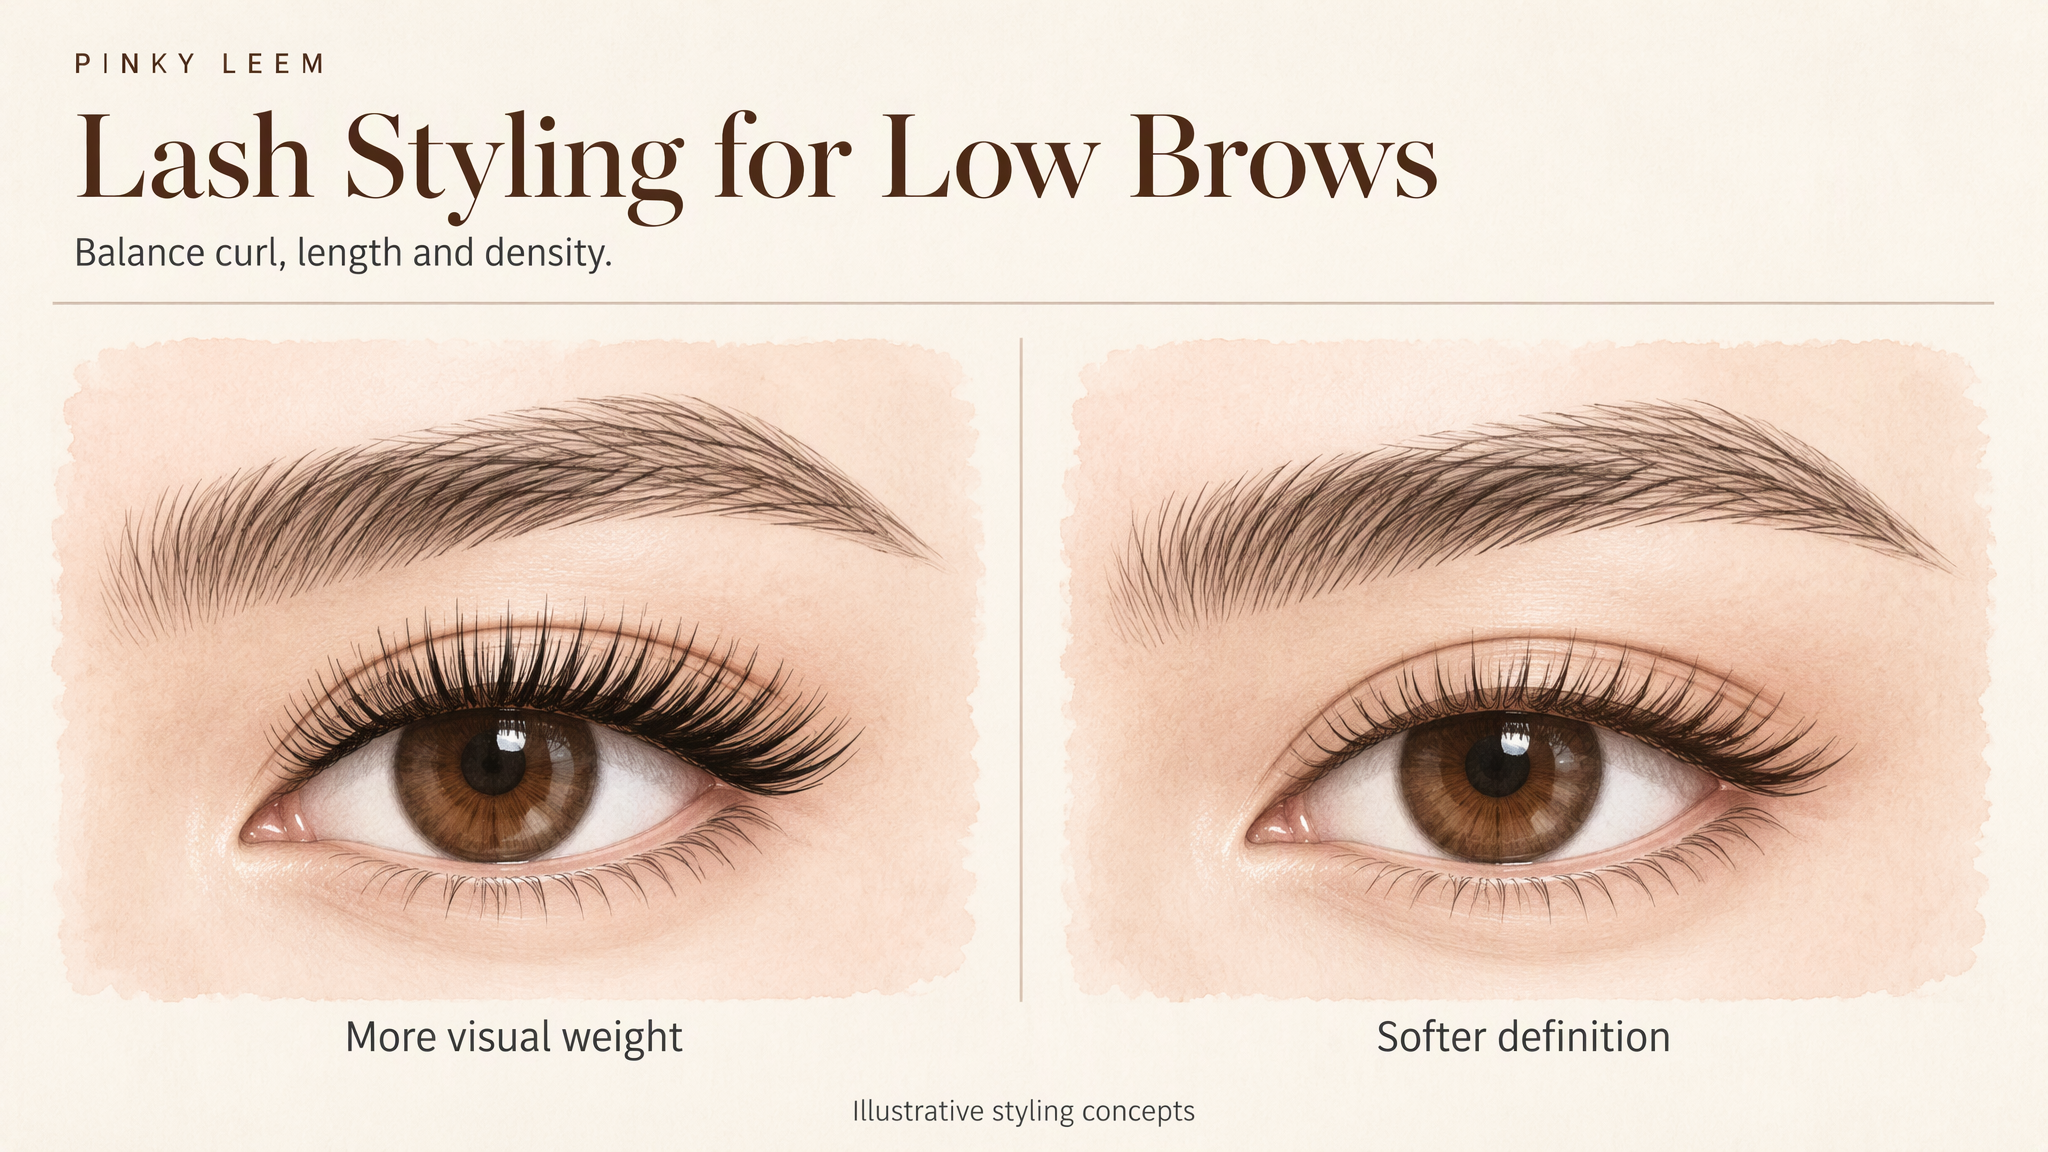
A lash set can look beautiful in a reference photo yet feel heavier than expected on a different face. Before adding more length or choosing a stronger curl, look at the relationship between the lashes, eyelids, and brows.
When brows sit close to the eyes, a small styling change may have a noticeable effect on the overall look. The goal is not to “correct” the face or follow a rigid beauty rule. It is to create the definition your client wants while keeping the lash design in proportion with their features.
For lash artists, this means considering curl, length, density, outer-corner placement, and color together. Here are five styling mistakes worth avoiding, along with a more personalized approach to each.
What Does a Small Brow-to-Eye Space Mean?
In this article, brow-to-eye space means the visible area between the lower edge of the brow and the upper lash line when the client looks straight ahead with a relaxed expression. “Low brows” is a convenient styling description, not a medical diagnosis.
It is also different from close-set eyes, which refers to the horizontal distance between the two eyes. Hooded lids are another separate consideration: the fold of the upper eyelid can cover part of the lid area. A client may have more than one of these features, but the terms are not interchangeable.
A lash map should account for how the eyes look open, not only how the lashes lie during application. Natural lash direction and eyelid clearance affect how much of the finished curl and length will be visible.
There is no need to label a client’s features as too narrow or too wide. Discuss the appearance they prefer, then assess the actual space available for that design.
Use brow position as one design reference, not a rule that decides the entire set.
Mistake 1: Choosing Curl Without Checking the Whole Profile
It is tempting to think that more curl always creates a more open-looking eye. It is equally limiting to assume that low brows always require the least curled lashes available.
The useful question is where the extension’s curve and tip will sit once attached. The natural lash angle, the extension’s base shape, the lid fold, and the planned length all contribute. A curl that looks restrained on a tray may not create the same silhouette on every client.
J and B generally offer gentler profiles, while C and D have more pronounced rounded curves within many product ranges. These letters are not universal angle measurements, and C should not be treated as identical to D. Compare the actual fibers, particularly when changing brands.
For a softer result, evaluate a gentler profile where it suits the natural lashes and attachment. If the lashes point downward or sit beneath a lid fold, simply choosing the weakest curl may not achieve the intended definition. Review the profile from the front and side rather than applying a blanket ban on stronger curls.
Choose curl for compatibility and clearance, not just for its letter.
Mistake 2: Selecting Length From a Fixed Formula
A fixed short-length map may sound reassuring, but it cannot account for every client’s natural lash length, direction, or preferred style. A measurement on the tray is only one part of the result.
Think about length and curl together. The same nominal length can create a different visible outline when the curl or attachment angle changes. This is why copying a reference map exactly may not reproduce the reference photo. Individual features and the amount of natural lashes also influence the finished look.
For a client who wants more visual space beneath the brow, begin with a restrained outline and smooth transitions. Keep the inner section proportionate and avoid adding height simply to make the set look more noticeable. Assess the suitability of the extension for each natural lash rather than treating one short range as automatically safe.
The consultation should establish whether the client means more length, more lift, or a darker lash line. Those requests are not the same. Sometimes a more defined outline is the goal, without a taller silhouette.
Let the client’s lashes and desired outline determine the lengths, not a universal millimeter range.
Mistake 3: Confusing Visual Fullness With Technical Suitability
If a client dislikes a heavy-looking set, adding density across the whole lash line may move the design away from their goal. A continuous dark outline can become the dominant feature rather than the effect they wanted.
However, classic application is not automatically the only suitable option. The number of natural lashes influences how full a set looks, so the same service label can produce different appearances on different clients.
Ask what “natural” means to this person. Do they want visible individual lashes, a soft textured outline, or a more defined lash line? Use that answer to plan visual density rather than assuming that everyone with low brows wants the same finish.
Keep appearance separate from load. A fine fiber or a small fan count alone does not establish that an extension is appropriate. Length, diameter, fan design, attachment, and the individual natural lash must be considered together.
Nor should the center automatically become the densest section. If that is where the client already feels the design is crowded, concentrating more visual weight there may not meet the brief.
Plan fullness around the intended look, while assessing extension suitability independently.
Mistake 4: Extending the Outer Corners by Default
An elongated outer corner can be a deliberate styling choice, but it is not the answer to every request for a more open or balanced look. Brow position alone does not tell you where the longest section should sit.
If the client disliked a previous set, ask whether the heaviness appeared through the center or at the ends. Look at the outer lashes’ direction and the relationship between the lid and brow tail. Then consider whether tapering the last section or moving the strongest emphasis slightly inward would better match their goal.
A softly rounded design is one option, not a universal solution. Placing the greatest height in the center can also feel too prominent for someone who wants a lower-profile outline. Similarly, a subtle elongated design need not be ruled out simply because the brows sit low.
Rather than promising a particular effect from a named map, explain which part of the outline you intend to emphasize. Adapt that plan to what the natural lashes can support. Professional mapping guidance emphasizes considering individual features rather than relying on one template.
Place the visual emphasis deliberately; do not default to either a long tail or a tall center.
Mistake 5: Treating Black as the Only Color Option
Color is another design variable to discuss, especially when a client wants softer definition. Brown or dark-brown fibers can be considered as an aesthetic option, alongside changes to length, curl, and density.
The right choice is not determined by ethnicity. Compare the shade with the client’s brows, natural lashes, usual makeup, and personal preference. A softer brown may suit one brief, while another client may specifically want the contrast of black.
Black lashes are not inherently unsuitable for low brows. A restrained black set can still create the desired definition. Conversely, choosing brown does not automatically make an overly tall or dense design look balanced.
Show available shades in consistent lighting and discuss the intended finish. The color choice is about appearance, not proof of lower weight, better retention, or reduced allergy risk.
Use color to refine the look, not as a substitute for thoughtful mapping.
What to Check During the Consultation
Start with the client seated upright, looking ahead naturally. Discuss their preferred result before focusing on the technical specifications. This makes the design a collaboration rather than a list of restrictions.
Useful questions include:
•What did you like or dislike about your previous lash set?
•Do you want a soft outline, a darker lash line, or more visible lift?
•Where did the previous style feel too heavy: the center, the corners, or everywhere?
•Do you usually wear glasses, eyeliner, or strongly defined brows?
•Have you experienced irritation or a reaction to lash products?
Observe the brows and eyelids at rest and during ordinary expressions. Notice the natural lash direction in different sections, not just the center. Use these observations to discuss the planned silhouette and any limitations.
If taking consultation photos, obtain permission and use consistent angles and lighting. Do not judge the design only from a tilted close-up. Record the chosen map, curl range, lengths, and color so later adjustments have a clear starting point.
Keep the language supportive: “We can create definition without adding as much height here” is more useful than telling someone their brows are wrong. Brow reshaping is not a prerequisite for receiving a considered lash design.
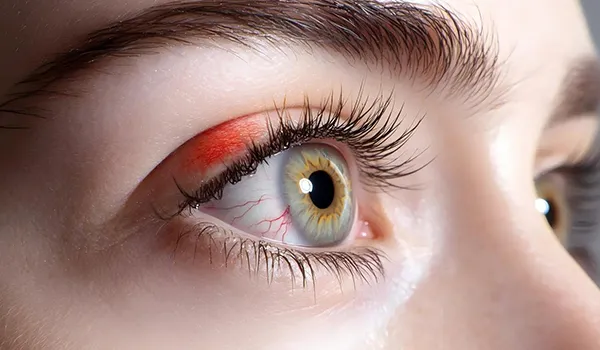
An aesthetic consultation does not replace eye-health precautions. Lash adhesives can cause allergic reactions or irritation. Avoid applying eye cosmetics when an eye is infected or the surrounding skin is inflamed; persistent irritation needs medical advice.
A good consultation combines the client’s preferences, a practical lash assessment, and appropriate safety boundaries.
A Flexible Starting Point for a Softer Set
For a client seeking a less crowded appearance, consider this design brief rather than a fixed recipe:
•Keep the overall outline restrained, with gradual length transitions.
•Select curl by natural lash direction, attachment, and eyelid clearance.
•Preserve visible separation where the client wants a lighter-looking finish.
•Keep outer-corner emphasis proportionate to the rest of the set.
•Compare black and brown if a change in contrast suits the brief.
Not every element needs to change. If the client likes the existing length but dislikes the darkness, discuss density or color before redesigning the entire set. If the tips look too prominent beneath the brow, review curl and length together.
Explain that the final look depends on their own lashes and features. A reference photo communicates a preference; it is not a guarantee of an identical result.
For client-facing wording, try: “I’d like soft definition without too much height beneath my brows. Can we plan the curl, length, and fullness around how my eyes look when open?”
The best starting point is a clear visual goal, followed by choices tailored to the individual.
The Takeaway: Leave Room for the Whole Eye
Low brows do not need to be disguised, and a dramatic lash style is not automatically a mistake. The question is whether the design suits the client, their natural lashes, and the appearance they want.
When the brief is soft and understated, leaving some visual space between the lash silhouette and the brow can be a useful design goal. Precision matters more than following a rigid curl list or chasing maximum length.
For PINKY LEEM, the guiding idea is simple: design around the person, not just the lash map. A considered finish lets the eyes, lashes, and brows work together without making every feature compete for attention.
Beautiful lash styling is about balance, not a universal formula.